An oak barn for a friend.
Designed by wolves.
If you were there, we’re awful glad you were.
If you weren’t, we sure missed you.
Photos by Max Haynes

An oak barn for a friend.
Designed by wolves.
If you were there, we’re awful glad you were.
If you weren’t, we sure missed you.
Photos by Max Haynes
When asked what timber framing is all about, where do I start? The timbers make sense to most people, but the mention of mortise and tenon joinery is usually met with glassy stares and confusion. So.
When two timbers meet perpendicular-like, one good way to join them is with a mortise and tenon. It’s the traditional way to do it since it doesn’t require any fasteners. Back then I guess labor was cheaper than nails, but it sure isn’t any more. Without getting into a long winded discussion about why we’d spend the time to do it this way, let’s just say that we are and move on.
Long story short, you make a tenon on one timber and cut a mortise in the other. Once the tenon is stuck into the mortise, you drill a hole or two and pound a peg in there to hold everything tight.
Let’s start with the tenon:
First you lay it out:
See the tenon in there? This layout is wrapped around the whole timber.
Next you make the end cuts of the tenon:
This piece has two (end and heel) since it’s an angled tenon for a brace at a pitch. Both of these cuts have to be made from both sides (for a total of four cuts), since this is an 8″x8″ timber and the deepest cut you can make is 6″ deep.
Once the timber is rolled up, it’s time for the tenon cheek cuts:
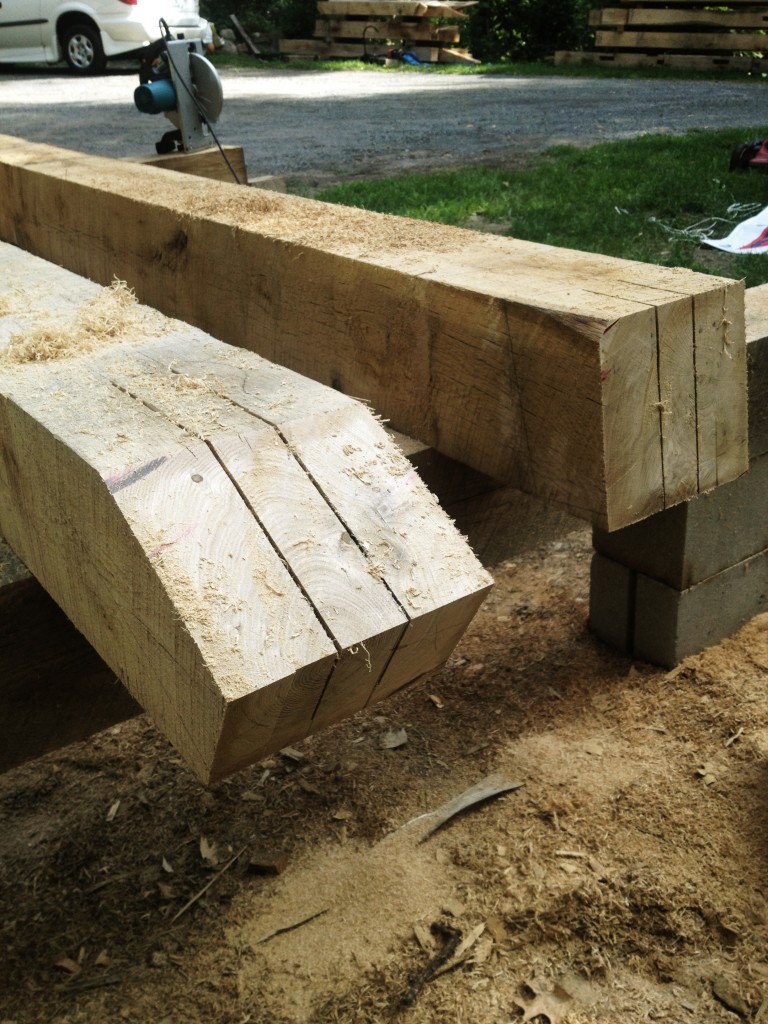 These cuts are done vertically, as the timbers are sitting. Super fun.
The timber is then rolled over one side and the shoulder cuts are made: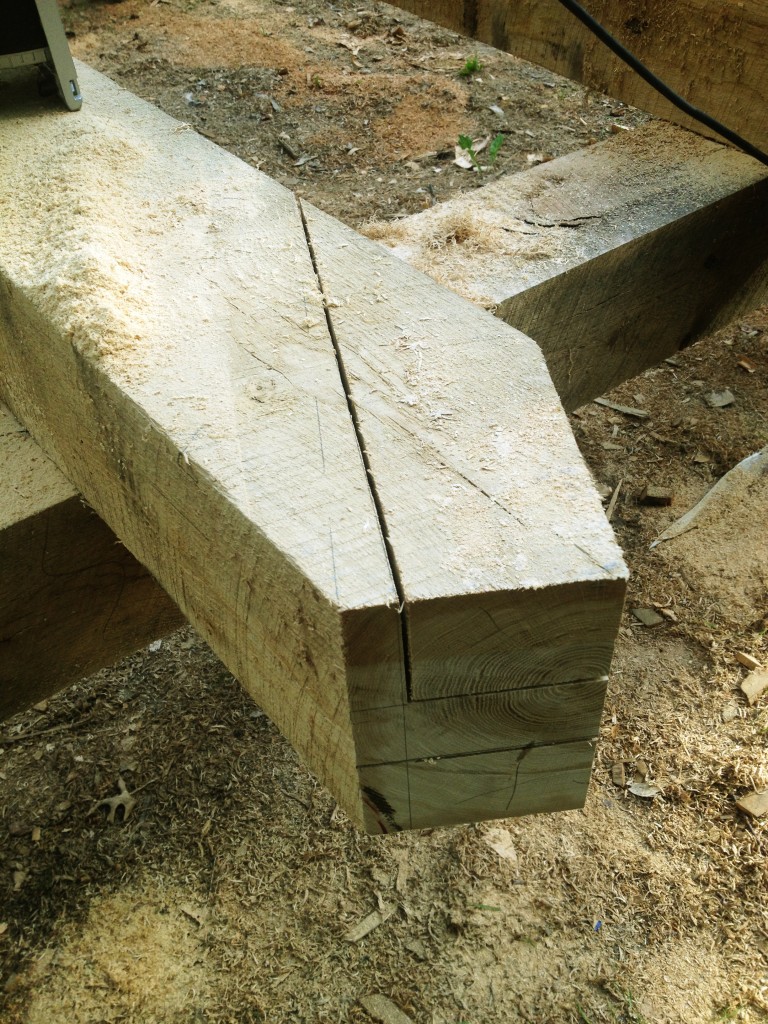 This is the most important cut because it’s the one that everyone sees!
If you did it right, you should be able to whack what’s left with a big mallet and expose half of your new tenon: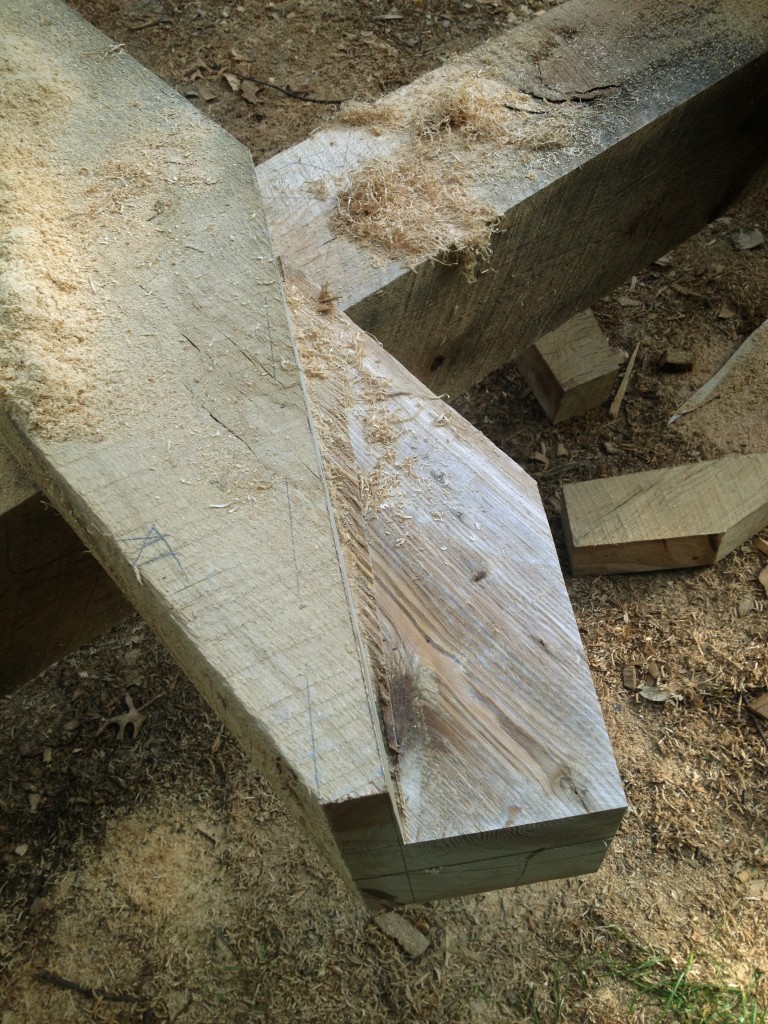 OK, flip it over and do the other side:
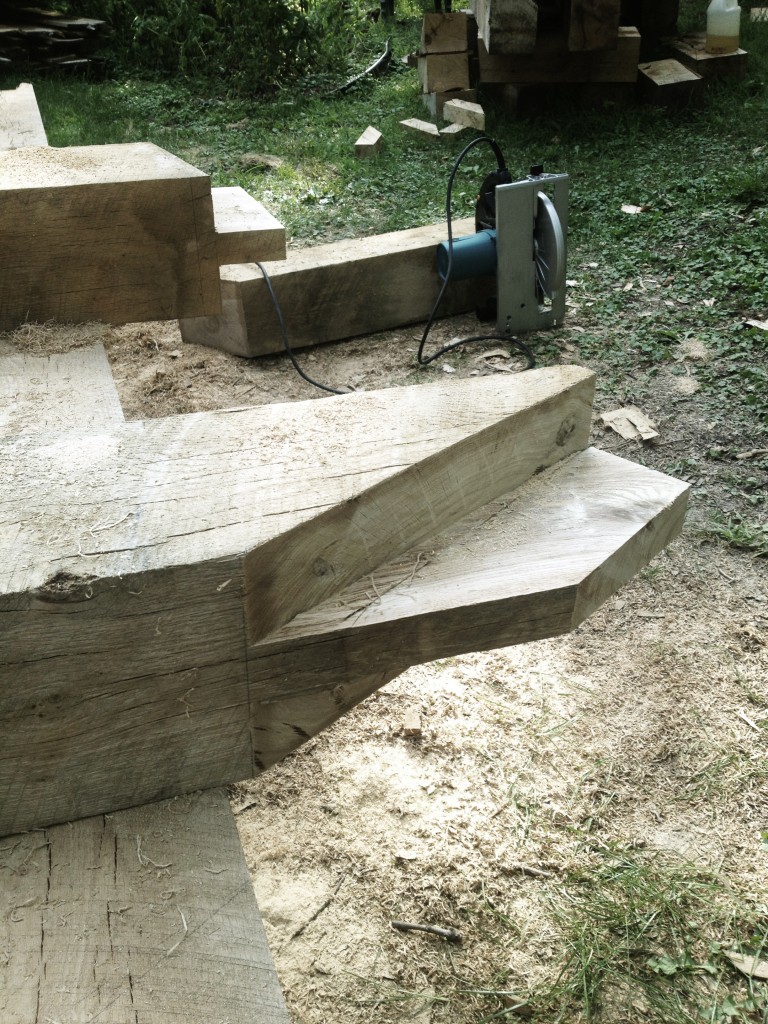 Now you’ve gotta break out a chisel and clean this all up:
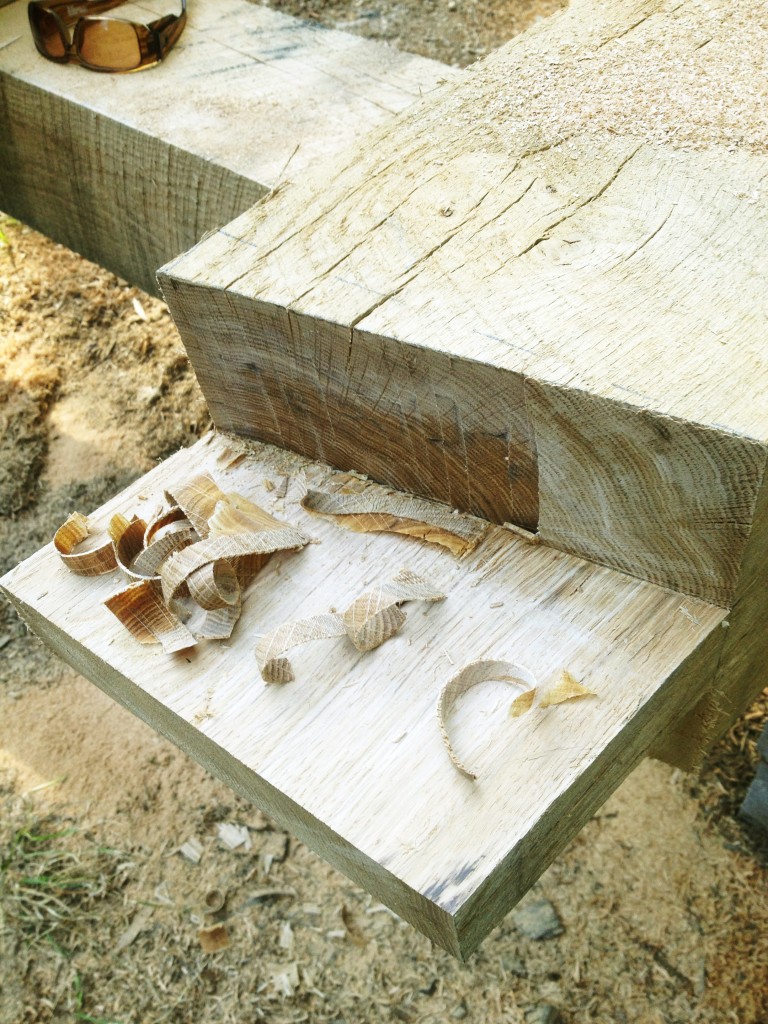 THEN repeat, repeat, repeat!
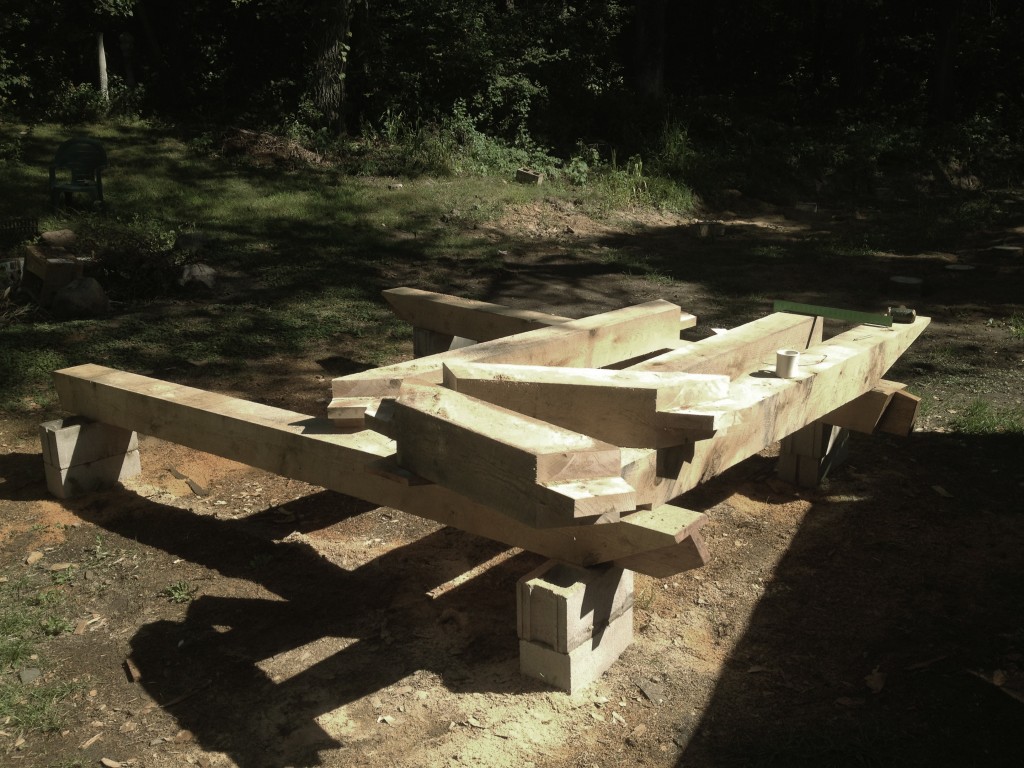 Yikes.